Backpacking in Yellowstone National Park is one of the most rewarding and memorable experiences you’ll have as an outdoors enthusiast. There’s something about seeing the untouched beauty of nature up close, free from the distraction of city lights, that makes it feel so much more special.
This article will give you all the information you need for a backpacking trip to Yellowstone whether it is your first time, or your 100th time. Whether you’re looking to go on a short day trip or a three-day overnight journey, we’ll help you choose the perfect itinerary. In this guide, we’ll discuss everything from costs and packing requirements to safety precautions, common pitfalls, and alternatives if backcountry camping isn’t your thing.
Trevorocity is reader-supported. When you buy through links on this site, we may earn an affiliate commission.

How to Get to Yellowstone National Park
The nearest airport to Yellowstone National Park is Yellowstone Airport (WYS) located just a few miles outside the west entrance. The only major airlines that have commercial flights in and out of Yellowstone Airport are Delta and United Airlines. Both airlines only fly seasonal routes to Yellowstone usually beginning in May and running through October.
Although a bit further away, Bozeman Yellowstone Airport in Montana and Billings-Logan Airport in Montana both have many more commercial flight options, including service on some budget airlines like Allegiant. From the Bozeman airport it is about a hour and a half drive to the north entrance of Yellowstone National Park and about a two hour drive from the west entrance of Yellowstone National Park. It is approximately a 3 hour drive from Billings Montana to the east entrance of Yellowstone National Park.
All three airports have car rental options, but since these airports are on the smaller size, during peak season it can be difficult getting a reservation. If you don’t mind driving a little longer, there is also Salt Lake City Airport. Clocking in at approximately 4 hours from the airport to the West Entrance to Yellowstone, SLC offers a lot more daily flights from a lot more carriers, and oftentimes for a lot less money. The same holds true for car rentals.
If you don’t mind spending even more time in the car, consider taking the route from SLC to the South Entrance of Yellowstone which takes you through Park City, UT, Jackson Hole, WY, and the Grand Tetons. While it might take you over 6 hours, this is a truly breathtaking scenic drive!

When to go Backpacking in Yellowstone National Park
If you’ve heard that Yellowstone National Park is open year round, that’s actually correct! That being said, you’ll need to check which Park Entrances will be open, as some of them are closed at certain times of the year. This can be a big factor on where you decide to fly into to start your exciting Yellowstone vacation.
Most people commonly think that the best season to visit is in the summer months from late May to late August. This is when you will find the most ideal temperatures, however, you’ll also find the biggest crowds. Also keep in mind that Yellowstone is a massive park and certain areas are at much higher elevation than others, so the temperatures can vary greatly from one area to another.
Shoulder season is a great time to go backpacking in Yellowstone National Park. During the shoulder season, there is a much more likely chance that it will be cold, and possibly even snow. However, campsites are easier to book and it is not nearly as crowded.
Getting a Permit for the Backcountry in Yellowstone National Park
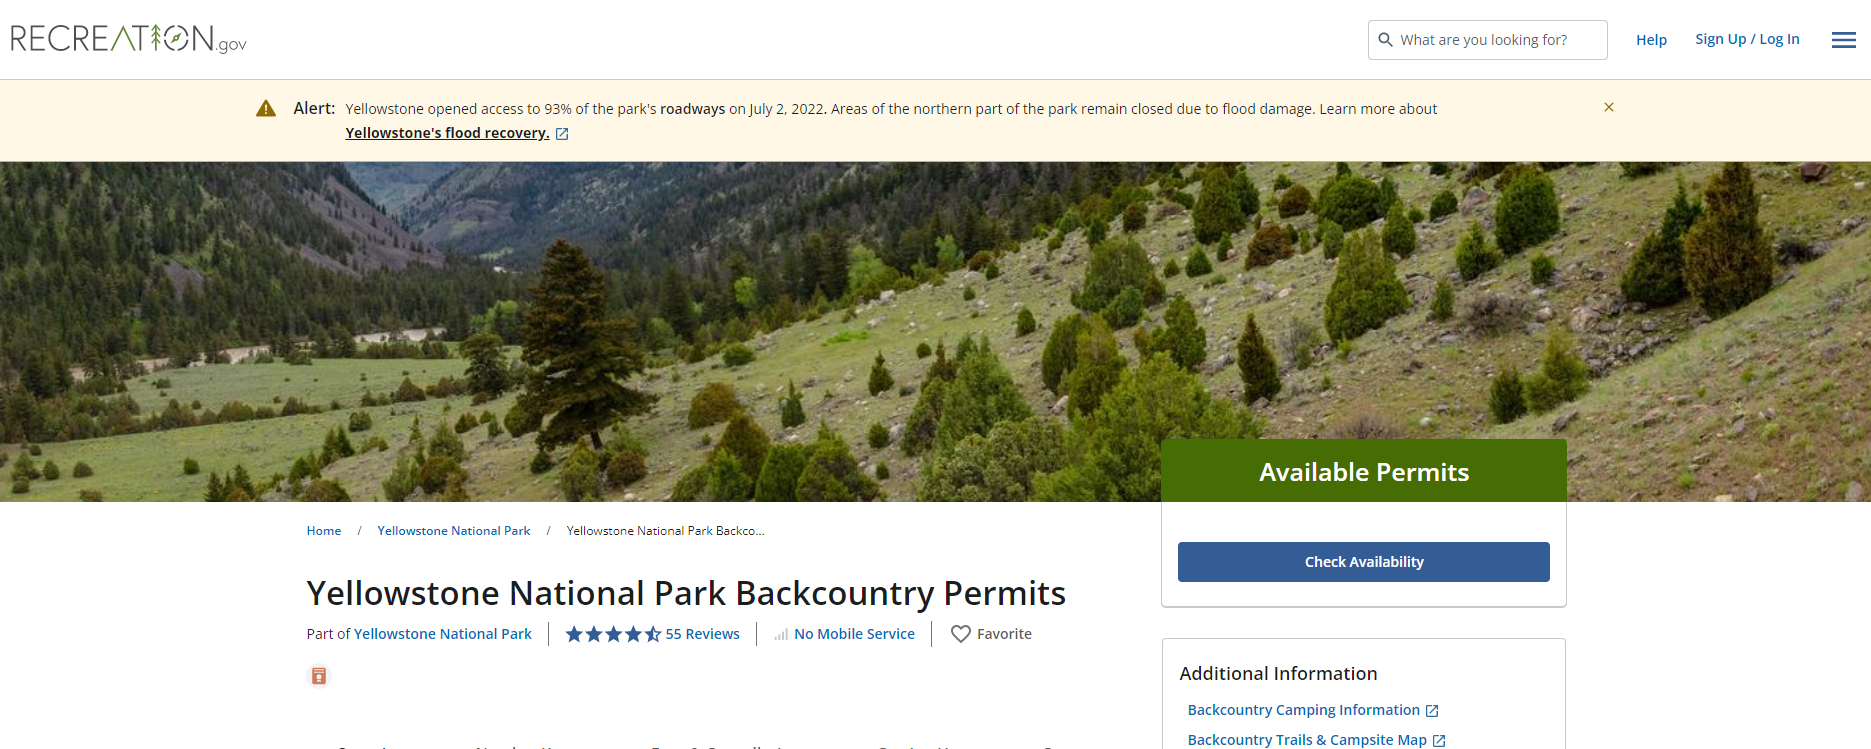
Yellowstone National Park maintains 293 backcountry campsites, which require a permit to use. You can now book your campsite reservation through the Recreation.gov website. Permits cost an initial $10 reservation fee plus a $5 per person per night use fee.
Spring and summer months are by far the most popular, but backcountry camping is open year round! Yellowstone National Park has implemented an early access lottery for reservations. This system allows backpackers to request their reservation before dates officially open up. Names are randomly drawn. Early access usually starts in the month of March and costs a $10 non-refundable fee.
Yellowstone National Park also allows for walk-up permits which can be claimed in person up to two days prior. Rangers post a report on what sites are open, so you can plan ahead and try to obtain a campsite in person. The earlier you grab them, the better.

Tips for Visiting and Backpacking in Yellowstone National Park
Yellowstone National Park is bear country! You MUST have proper food storage, as this is a requirement for your reservation. Some sites will have bear poles, some will have lockers and others will require your own food storage such as a Bear Vault.
This is probably the millionth time that you have heard or read this, but get the America the Beautiful Pass. This pass will allow you free entrance to National Parks for a year. The entrance fee for Yellowstone National Park is $35, almost half the cost of the America the Beautiful Pass.
Yellowstone National Park is over 2 million acres! Covering nearly nine thousand square kilometers, driving to different areas of the park can take hours, especially when it is crowded, so it is important to plan accordingly. Not all roads are open year round. Road closures happen during the winter months, so it is important to check the NPS website for the most up to date information. Remember, road closures do not happen on the same date every year!
3 Day Yellowstone Backpacking Itinerary for Beginners
Day 1
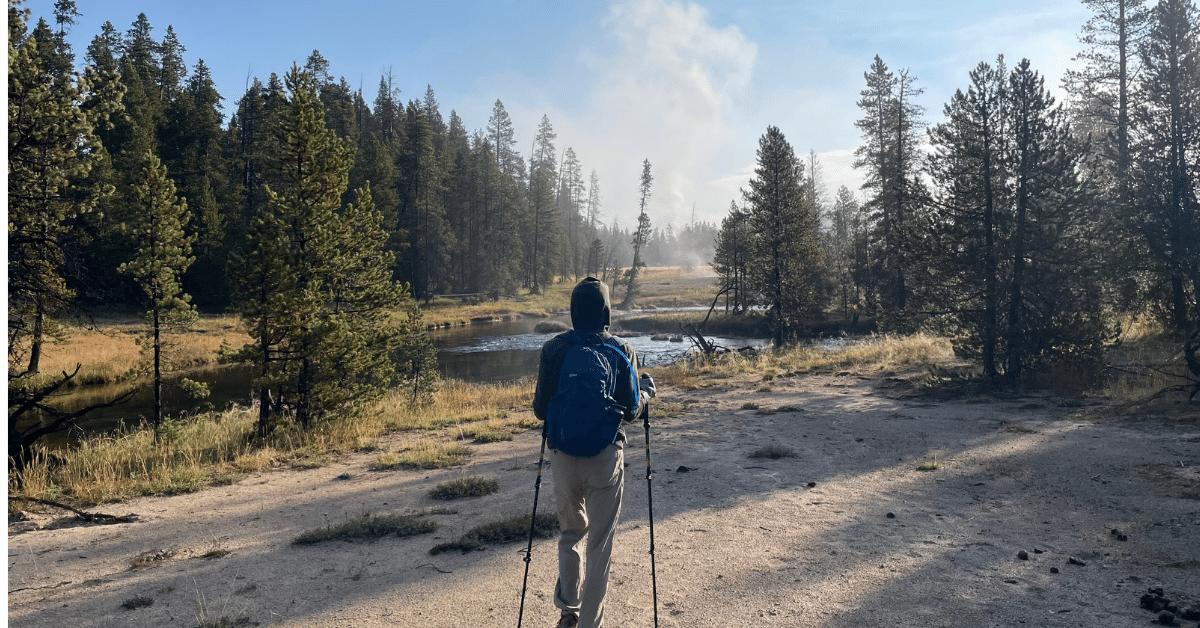
I was accompanied on my trip to Yellowstone with someone who was relatively new to backpacking. I didn’t want to pick a super hard route, so decided to go for a shorter hike so that we would be able to do multiple day hikes.
On the shoulder season I knew reservations would be a little easier, but still limited options. We went with OA3 Firehole Springs, for a 2 night trip. From the trailhead it was only about 4 miles to camp.
We arrived at the West Yellowstone backcountry office and watched about a 15 minute video on backcountry safety. The video covered the high level overview of the rules, what to do if you see a bear, and how to stay safe in weather conditions. The park ranger then printed our permit and parking slip.
We arrived around 9:00 am, so we knew we had time before we needed to start hiking to camp. We spent the first half of the morning visiting the area around Old Faithful and even waited to see Old Faithful erupt. Around 1:00 pm we headed to the trail head (only about 10 minutes away) and headed to camp.
Weather wasn’t great, it was overcast with the chance of rain around 5:00 pm. We hiked along the trail and made it to Lone Star, where we got lucky and arrived right as it was erupting. This was a good area to relax and have a snack break. This geyser does tend to play tricks and will have a small eruption before a much larger eruption.
We made it to camp around 4:30 pm and set up our tent, and collected some firewood. Right at 5:00 pm it started to drizzle a bit. We made dinner and finished hanging our food before heading to the tent for the night.
Day 2
It was an early and chilly morning, so the first hour was spent next to the fire and cooking breakfast. Once we had both warmed up a bit it was time to decide what the plan was for the day. We ended up deciding to hike back to our car with our daypacks and visit the northern part of Yellowstone National Park.
We headed up to Mammoth Springs (about an hour and a half drive) and explored the surrounding area. The landscape was much different from that near Old Faithful. We stopped at a few pull outs and made sure to get plenty of pictures.
While we were driving back to our trailhead we had a short detour due to bison. It was an awesome sight to see as towards the colder months they are not as common throughout the park. We arrived back to the trailhead at a similar time as in the previous day, although hiking was much easier without a pack.
Once we arrived back to camp we made a little fire, and had dinner. We waited until it was dark and the stars came out to head in before it started to rain again. Through the night there were some pretty crazy thunderstorms, but luckily we stayed dry.

Day 3
The last morning it was a bit icy outside and cold, but once the sun started to come up everything started to thaw. We slowly packed everything back into our backpacks as we made breakfast.
Once we were all packed up we headed up the wet trail until we got to Lone Star geyser, where again we took a small break. It didn’t have a full eruption this time through, but was still a nice peaceful area to rest.
Once back at the car it was time to head back towards the airport to sadly go home. We decided to exit through the east gate and explore some additional areas of the park on the way out. This side seems to be much quieter than the west entrance to Yellowstone National Park.


[…] Everything You Need to Know About Backpacking in Yellowstone National Park […]
I have done a fair amount of backpacking over the past 40 years in Yellowstone. I prefer the NW corner with two destinations: Black Canyon and Slough Creek. A third would be the Lamar Valley. But, I also like the lesser used SW corner; although the vistas are not as spectacular. I have lots of memories of this exceptional beautiful place.
[…] Everything You Need to Know About Backpacking in Yellowstone National Park […]
[…] Everything You Need to Know About Backpacking in Yellowstone National Park […]
[…] A Guide to Backpacking Yellowstone National Park […]